Protect the House Project
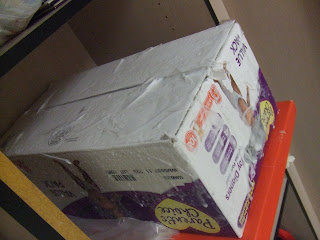
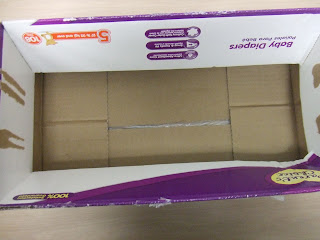
Here are the items I provided the children to choose from to cover their house. Glue, plastic wrap, aluminum foil, clear packing tape, masking tape, and construction paper.
Group 1 AM covering it with glue.
Group 1 AM Pouring the water after glue dried.
Results to Group 1 AM- DRY!
Group 2 AM hard at work covering their house with foil.
Group 2 AM covering it with plastic wrap and clear tape.
Group 2 AM adding their floor.
Group 2 AM making it "rain."
Group 2 AM Results- Floor fell apart, but dry on the inside!
Group 1 PM covered their house with plastic wrap and clear tape.
Group 1 PM making it rain.
Group 2 PM Results- A little wet on the edges, but mostly dry.
Group 2 PM covered the holes and cracks with clear tape and then applied glue.
Group 2 PM pouring the water with the watering can.
Group 2 PM noticed that the glue was starting to wash away, but the inside still wasn't wet. So, we decided to make more dramatic rain by putting our house under the faucet.
Group 2 PM Results- Even after being under the faucet, still DRY inside!!!
This experiment was so much fun. It was interesting that all the groups chose a different method to protect their house. It was also interesting to hear the children's predictions about what was going to happen to the house. They were excited about doing this and the second day when it was time to pour the water, they all wanted to participate. You could've heard a pin drop in a typically very loud classroom as they were waiting to see what would happen! I was even surprised with the results. I thought at least one of the boxes would break apart. Just goes to show, you don't always know what will happen unless you test it out.
What experiments have you done with your kiddos?
Scientific Method Template


What a great experiment. My kids would love that.
ReplyDeleteSo neat that you had a group of kids offering different ideas and then testing them out. You must be a terrific teacher. Thanks for sharing with Afterschool!
ReplyDeleteWhat a wonderful experiment! You are a great teacher! Thanks for linking up at TGIF! Have a great week,
ReplyDeleteBeth =)
What a fantastic idea!!! Thanks for sharing with Learning Laboratory at Mama Smiles! I've pinned it to my science board, and we'll definitely give this a go at our house!
ReplyDeleteI love coopertive learning groops with a "real life" learning activity. Your kids are lucky to have you encouraging their minds to think!!! I think my classroom kids favorite science lab was making and maintaining wormaries!
ReplyDeleteWhat a great experiment. I used to teach 3rd grade and I can see those kids loving this kind of experiment...I miss those days sometimes :) Thanks so much for sharing this with us at Sharing Saturday.
ReplyDelete~MiaB
www.mamamiasheart2heart.com
I LOVE all the different variations you've had on this housing theme! This is such a cool experiment...it reminds me of an egg drop! ;) Thank you so much for linking up at Teach Me Tuesday -- I hope we see you again today!
ReplyDeleteThis is SO cool! Your kiddos there seemed to really enjoy it! You always have such great learning activities. :D Thanks for sharing at Thrifty Thursday!
ReplyDelete